Set up an attack-heavy build before you pull the boss
Cyclone9's guide is aimed at players who are still low enough that the Dwarf King matters. The starting point is not a tank build. The practical route is to lean hard into attack, then add a little movement speed so your dodges feel cleaner when the boss starts chaining swings and hammer throws.
- The example setup in the video uses roughly 100 points in Attack and 20 points in Movement Speed.
- Movement Speed matters because this fight is more about clean spacing than face-tanking hits.
- If your spells are weaker than the video example, the same movement rule matters even more because the fight lasts longer.
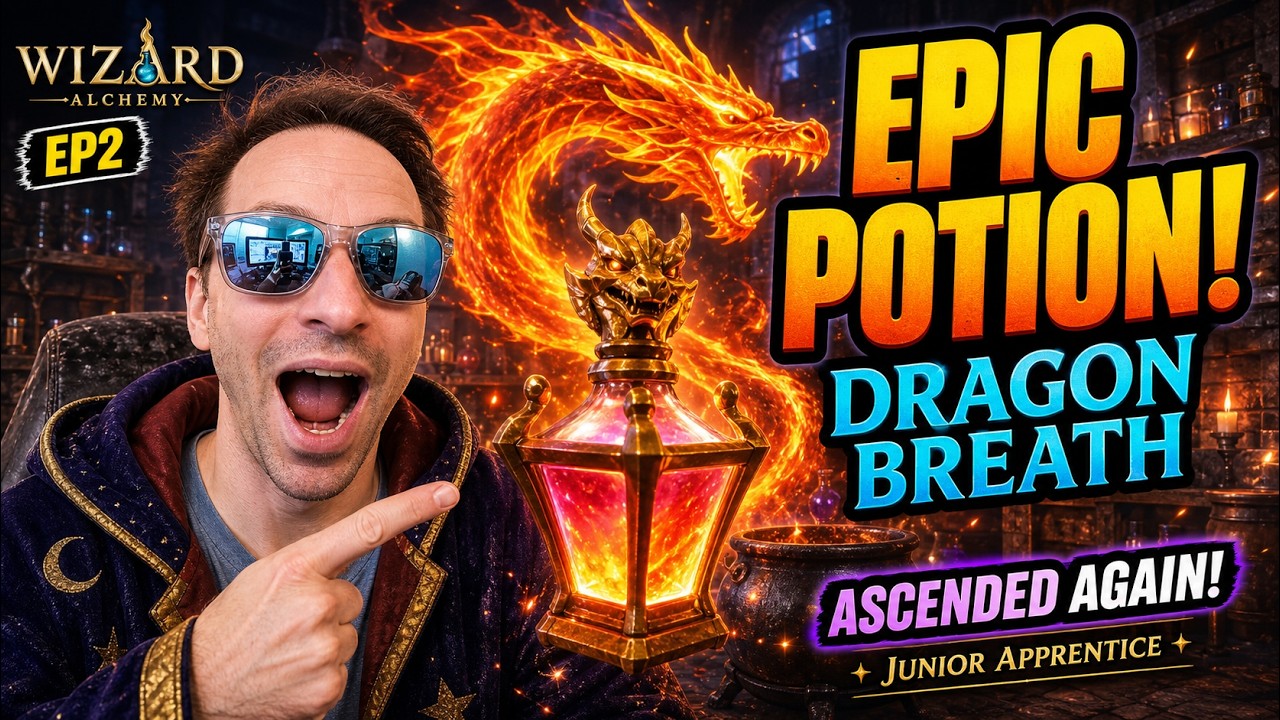
Bring your best Frost Thorns or Dragon Breath setup
The page promise is not that you need perfect endgame gear. It is that you should show up with real damage spells instead of treating Dwarf King like a starter mob. Cyclone9 specifically recommends Frost Thorns, Dragon Breath, or a mix of the two because they let you keep pressure on the boss while you spend most of your attention on dodging.
- Double S Frost Thorns is the cleanest comfort setup if you already have it.
- A Double S Dragon Breath plus Double S Frost Thorns mix still works well for this fight.
- Even lower ranks can work, but the page route assumes you have already moved beyond basic starter potion damage.
Use the Ember Wand baseline and clear the arena first
Cyclone9 deliberately downgrades from stronger World 2 gear to show a World 1-appropriate baseline. The video uses Ember Wand as the example boss weapon: a 30,000 Gold wand with Attack, Attack Boost, and Crit Rate stats. Before you touch the boss itself, clear the two veterans and the archer in the arena so they do not ruin the fight mid-pattern.
- Ember Wand costs 30,000 Gold.
- Cyclone9 switches back to lower-tier robe gear as part of the no-cheese demonstration.
- Clearing the veterans and nearby archer first gives you room to focus on the real boss pattern.
Turn on Autocast and learn the current hammer pattern
The fight gets much easier once you stop trying to manually micro every cast. Turn on Autocast so your damage keeps flowing while you read the boss. The first danger sign is the hammer throw. Dodge sideways to avoid it, then let the boss run at you and wait for the upswing animation before moving away. According to the current video, the old three-swing rhythm appears to have shifted and the Dwarf King now behaves like a four-upswing cycle before another hammer throw.
- Start the pull by sidestepping the opening hammer throw.
- Do not dodge too early on the melee sequence; wait for the axe upswing first.
- Cyclone9's current read is four upswings, then another hammer throw.
After the fourth upswing, stop greed-hitting and reset for hammers
This is the part that makes the guide actually useful instead of just saying 'dodge better.' The video's main correction is that players should stop trying to sneak in extra wand attacks after the fourth upswing. That greed window is what gets people clipped by the next hammer throw. If you back off early and prepare to sidestep, the fight becomes much more repeatable.
- After the fourth upswing, assume the hammers are coming next.
- Run first and reset your spacing instead of squeezing in one more wand hit.
- Autocast covers a lot of your damage, so survival discipline matters more than greedy chip damage.
Dwarf King is worth farming once you can clear it consistently
Dwarf King is not just a checkmark boss. It is a World 1 farming target with useful drops, including Flame Crest, Copper Earring, and Furnace Core. That matters because those materials feed better potion attempts and stronger account progression after your first clean clear.
- Dwarf King has 20,000 HP.
- Useful drops include Flame Crest, Copper Earring, Furnace Core, and gold.
- Once the fight feels stable, this becomes a practical World 1 material farm instead of a one-time milestone.